NotesThe installation of the hardware was straightforward, but setting up the Pi to display onto the new LCD didn’t go so well. It turns out this LCD, and many similar ones, ask you to enable the LCD via scripts in the LCD-show project. On my first attempt, I simply ran the relevant script (LCD35-show) as requested, but I ended up not being able to connect to my WiFi anymore!Unfurl
NotesThis guide talks about how we selected LCD screens for the Raspberry Pi media panels we are building. A media panel is a new and different class of computing appliance.Unfurl
NotesI finally dug out that LCD from the mess in my room and got it to work :) . Turns out , its really simple. You dont even need a microcontroller to do it.Unfurl
Notes Whenever you come across a LCD that looks like it has 16 connectors it is most likely using a HD44780 controller. These devices provide the same pinouts making them relatively easy to work with. The LCD uses a parallel interface meaning that we will need many pins from our raspberry pi to control it. In this tutorial we will use 4 data pins (4-bit mode) and two control pins.FeedUnfurl
NotesHD44780 based character LCDs require at least 6 I/O lines from microcontroller to display data. Therefore, they are not suitable for low-pin microcontrollers like PIC12F series microchips. In this project, I am going to show how to drive an HD44780 based LCD display with only 3 pins of a microcontroller. I am going to demonstrate it with PIC12F683 microchip. The character data and command from the microcontroller is transferred serially to a shift register (74HC595), and the parallel output from the shift register is fed to LCD pins.FeedUnfurl
Notes Adding a LCD to any project immediately kicks it up a notch. This tutorial explains how to connect a inexpensive HDD44780 compatible LCD to the raspberry pi using 6 GPIOs. While there are other ways to connect using I2C or the UART this is the most direct method that get right down to the bare metal. FeedUnfurl
NotesIt turns out that there are several ways to get such a thing going again (thank you, Google). I ended up buying a DPMI/VGA interface board on eBay, complete with high-voltage supply and cables. It worked right out of the box:Unfurl
Notes"A single USB connection from your computer gets you an instant secondary (tertiary, quaternary, quinary…) display. This awesome display is perfect for your IM client, widgets, PC gaming tools, your email, a spreadsheet, your PhotoShop tools, or even video!"Unfurl
Notes"The objective of an anti-reflective polarizer is to amplify the light generated by the LCD while minimizing the reflection of external ambient light."Unfurl
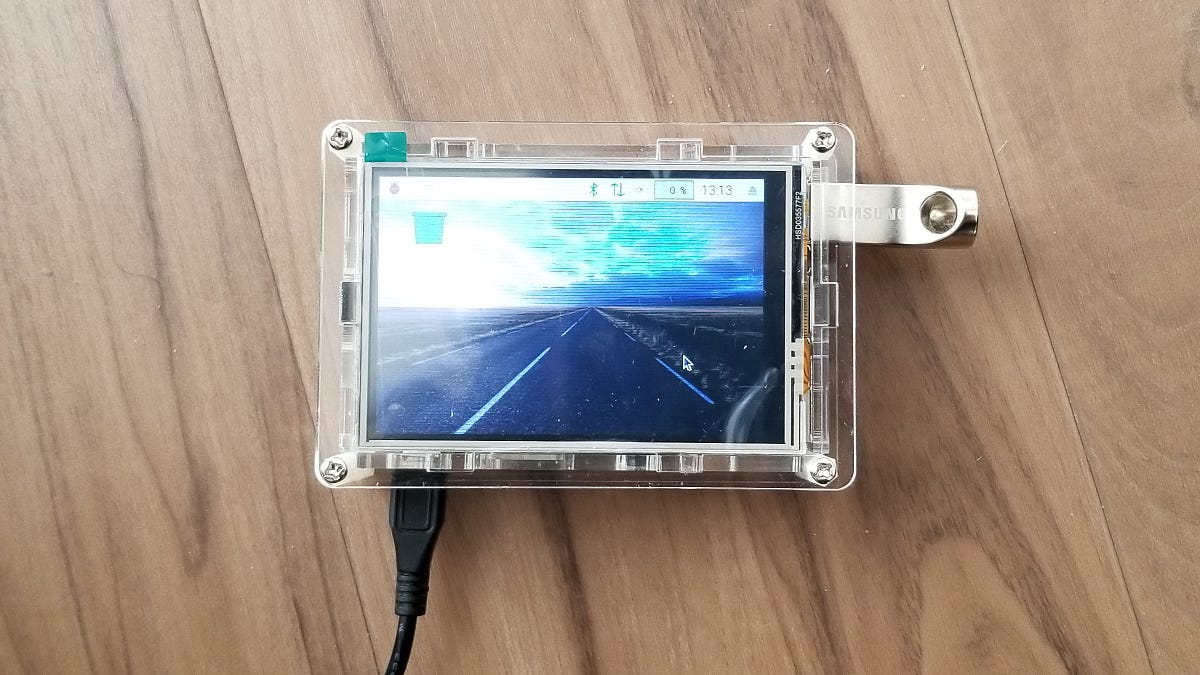 Setting up an LCD screen on the Raspberry Pi, 2019 edition | by Avik Das | Medium
 Wiring the Cobbler to the LCD | Drive a 16x2 LCD with the Raspberry Pi | Adafruit Learning System
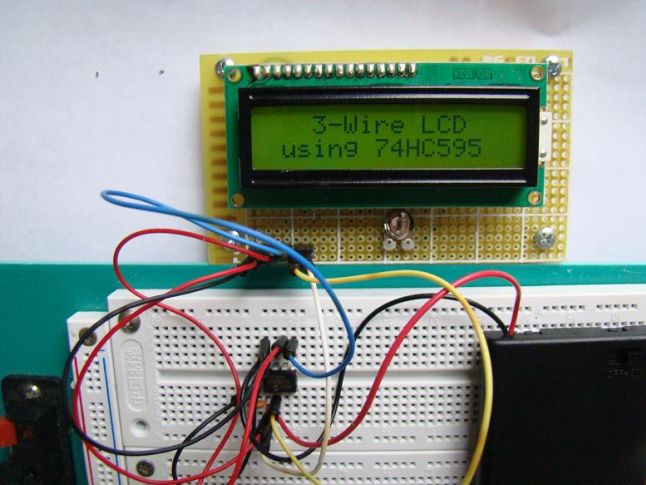 3-Wire Serial LCD using a Shift Register
 LCD tutorial - making a 'shield'